Fixing A Few Logitech Trackballs
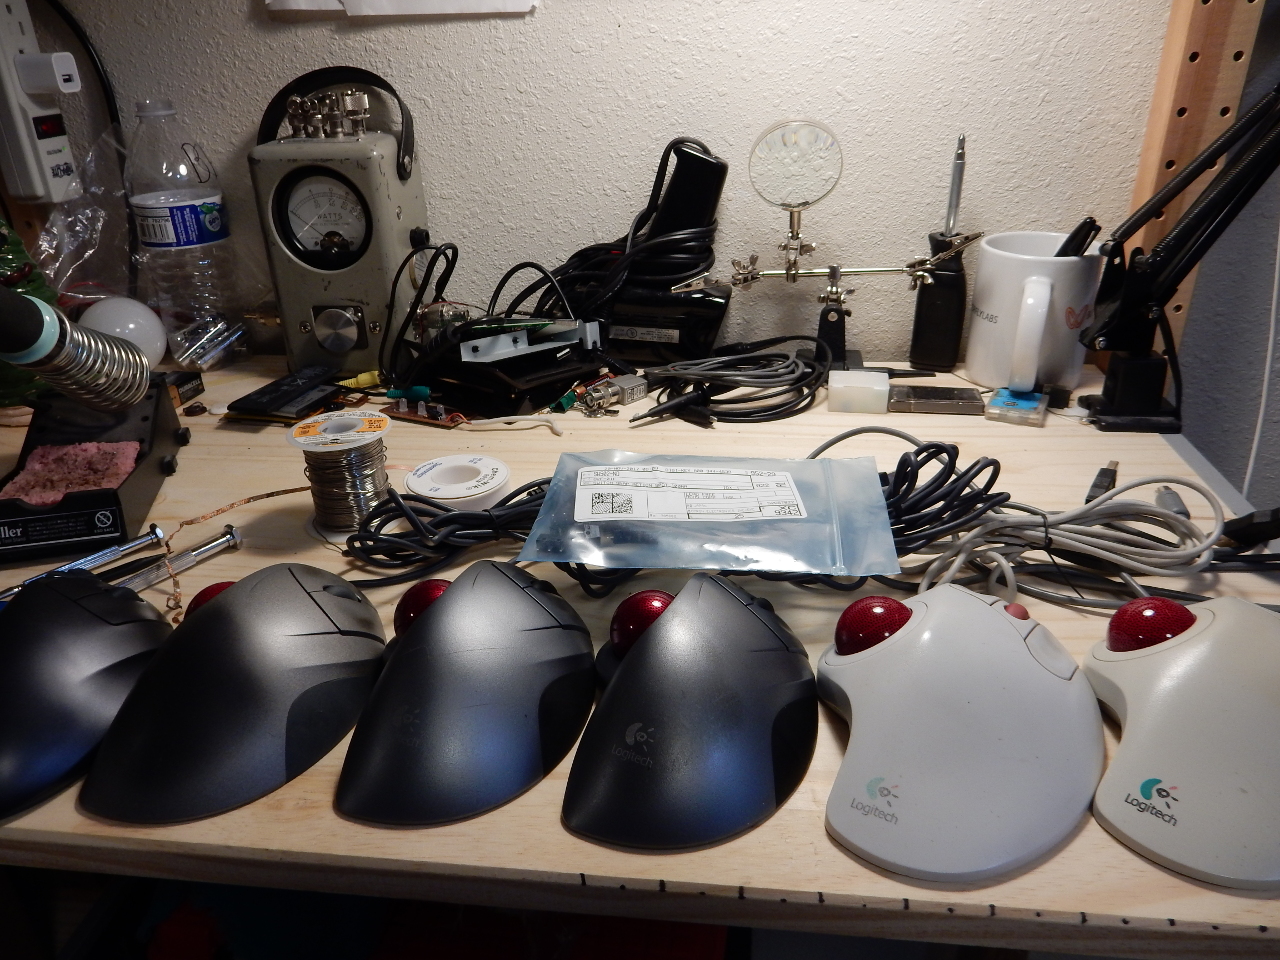
We love the Logitech trackballs in my house. I’ve used them for so long that the oldest one I have has a PS/2 connector on it. Overall they hold up really well, and I’ve never had a problem with them completely dying on me. But the left button does wear out after a few years (or less, depending on how many games you play).
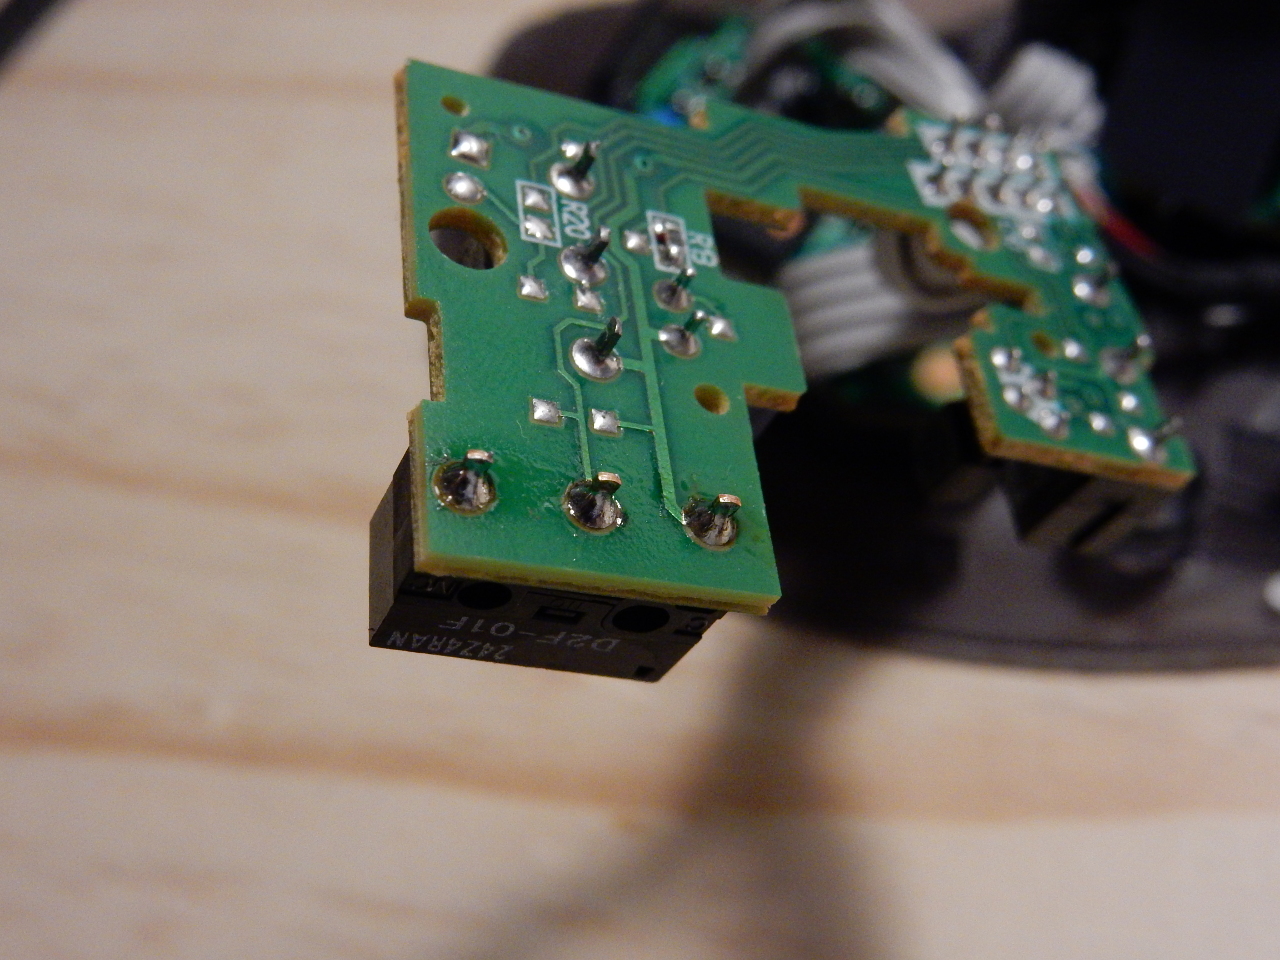
I decided to finally do something about the growing pile of them by replacing the switch. It’s a standard part, and even though Logitech has used different versions over the years they are all compatible. I ordered a pile of the Omron D2F-01F switches from DigiKey and warmed up the soldering iron.
Tools
- Soldering Iron (I use a Weller WP35 )
- Desoldering wick
- Philips Screwdriver
- Solder
Opening it up
Remove the screws. On older models they are all exposed, and on the wireless models they are under the pads, except for the sneaky one under the battery compartment label. Pry up the area right below the latch and you will find it.
Scroll Wheel
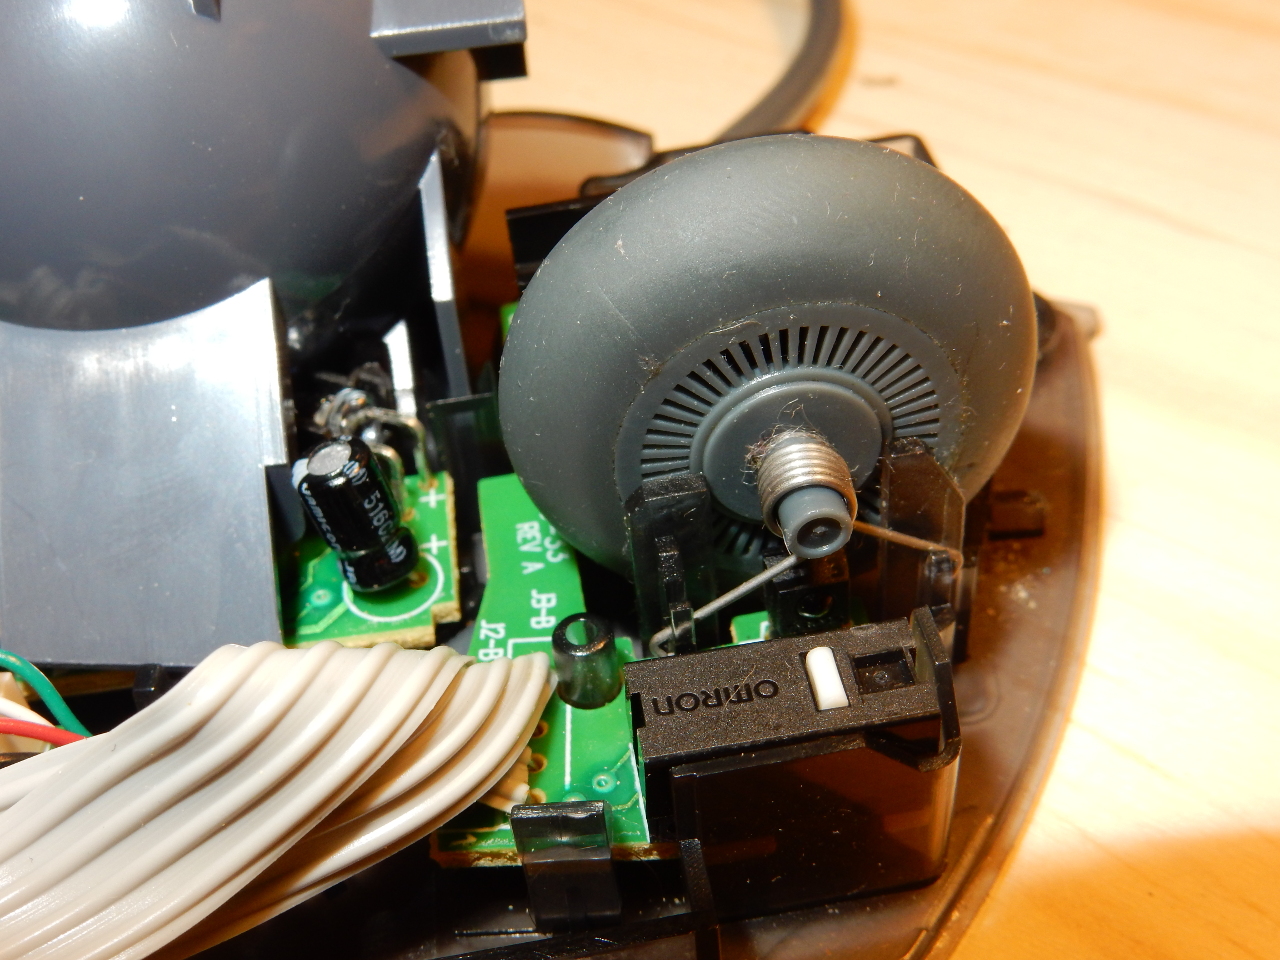
On older models the scroll wheel is attached pretty well, so I left it alone. On the newer models it lifts out easily, just make sure to keep track of the spring and to reinstall it in the same direction.
Removing the PC Board
On the wireless models the PC Board is held down by a number of screws. Remove them. The extra buttons have their own board, held in by a single screw, remove it as well. Take the trackball sensor off by gently lifting up both sides of the brown latch that holds the ribbon cable in. Don’t force things, it should be easy to remove.
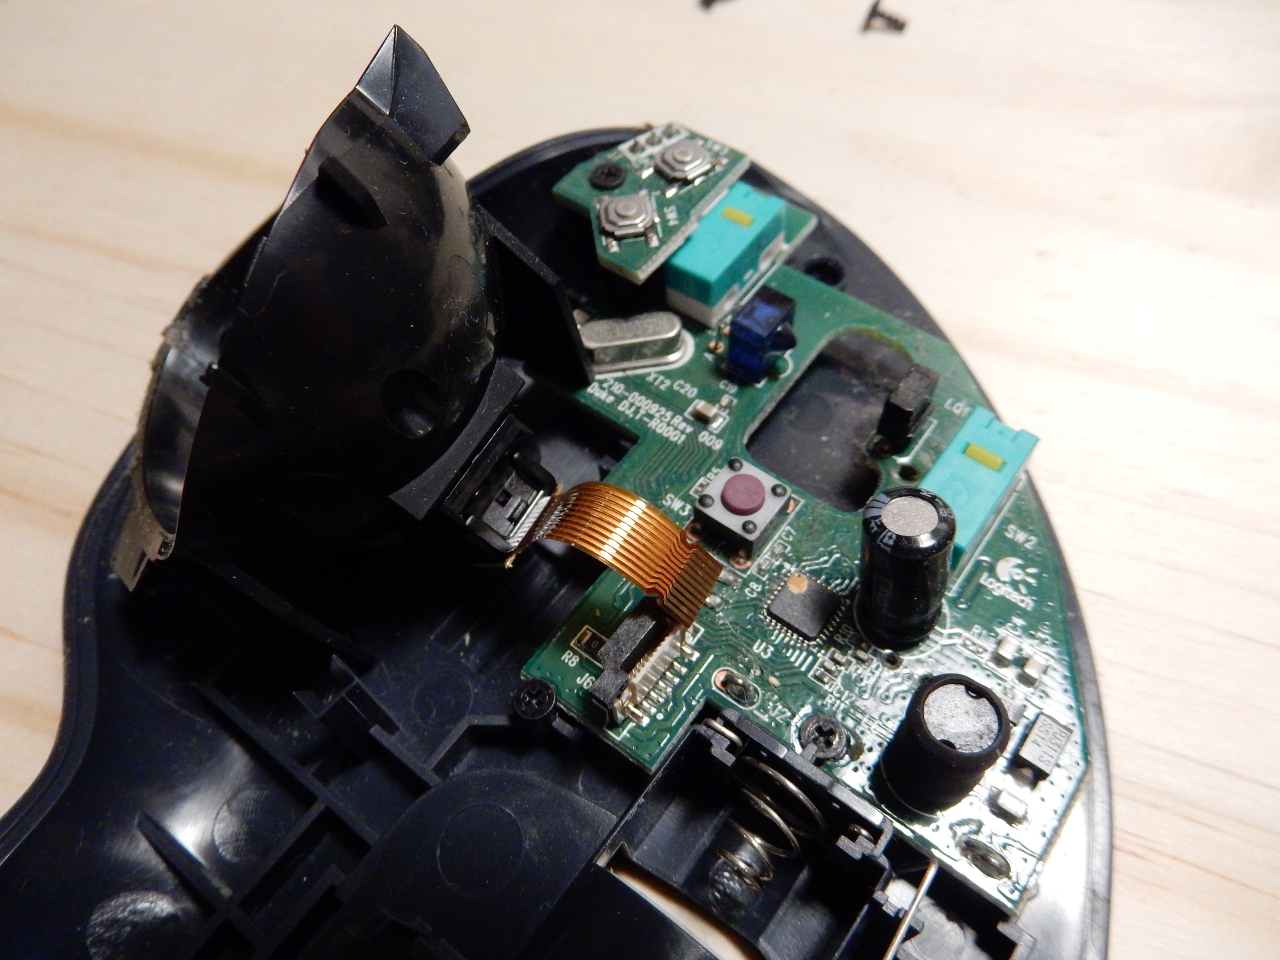
On the wired models some are held in by the cover, so there is nothing extra to do to remove them. One newer wired models the board with the switches is held in by a couple of plastic clips. Gently push them to the side while lifting the board, one end at a time. Be careful not to break them or the board.
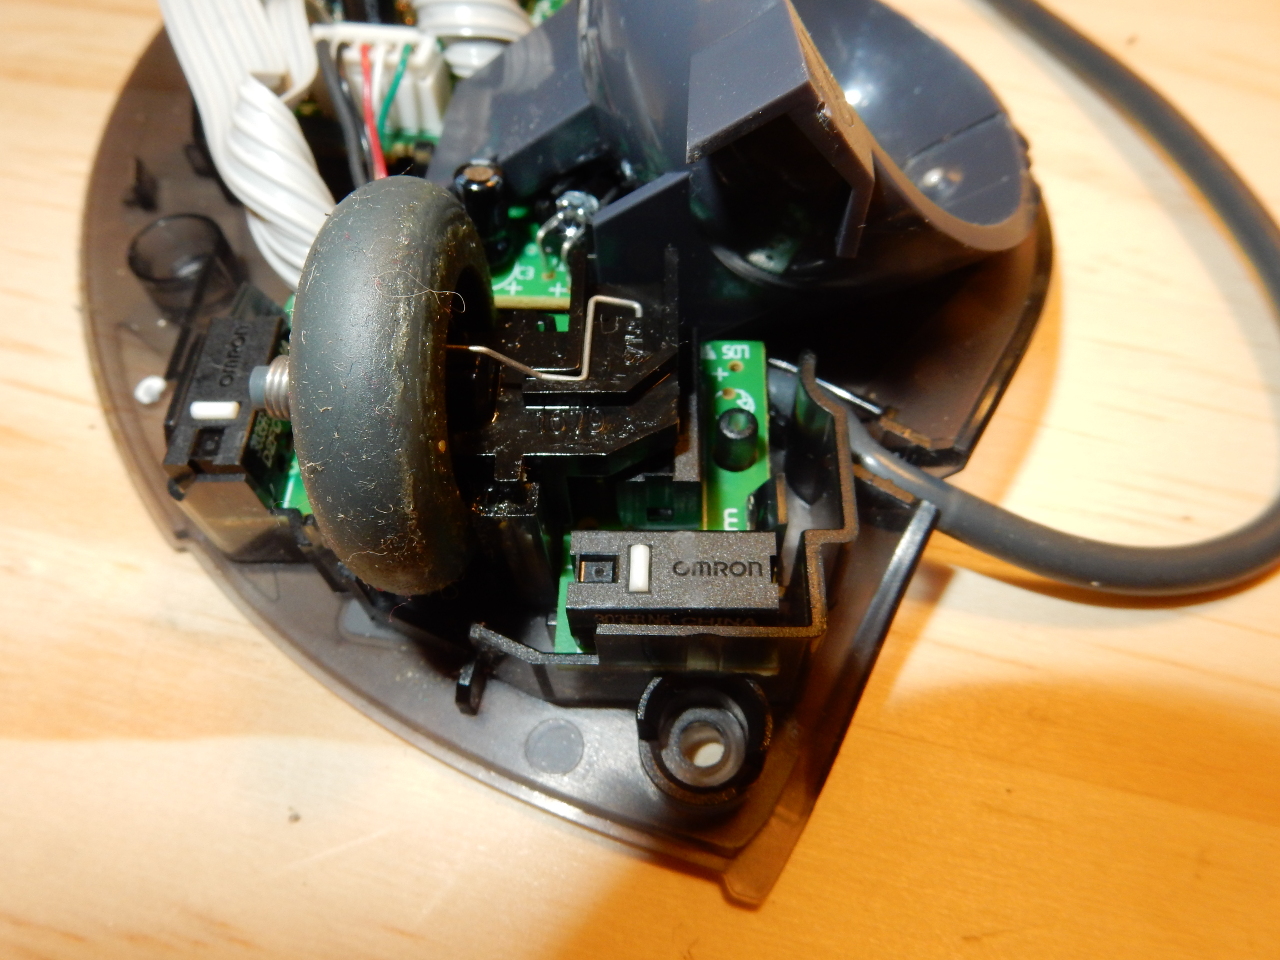
You can leave the gray ribbon cable connected, just twist the board upside down so that you can get at the contacts.
You may want to take this chance to clean things. Depending on how grimy the insides are you may also want to wear gloves and a mask, or a full hazmat suit.
Removing the old switch
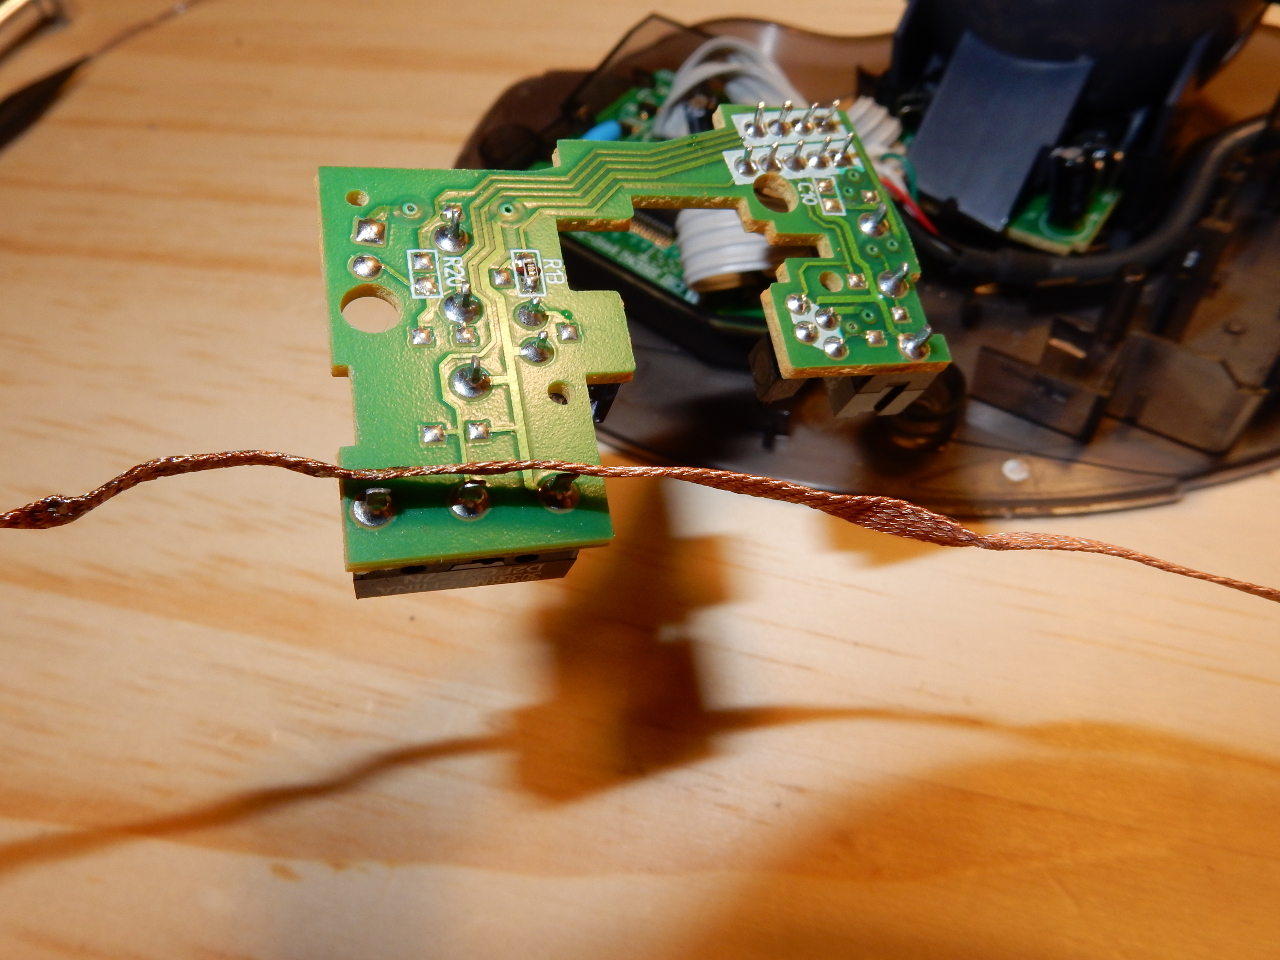
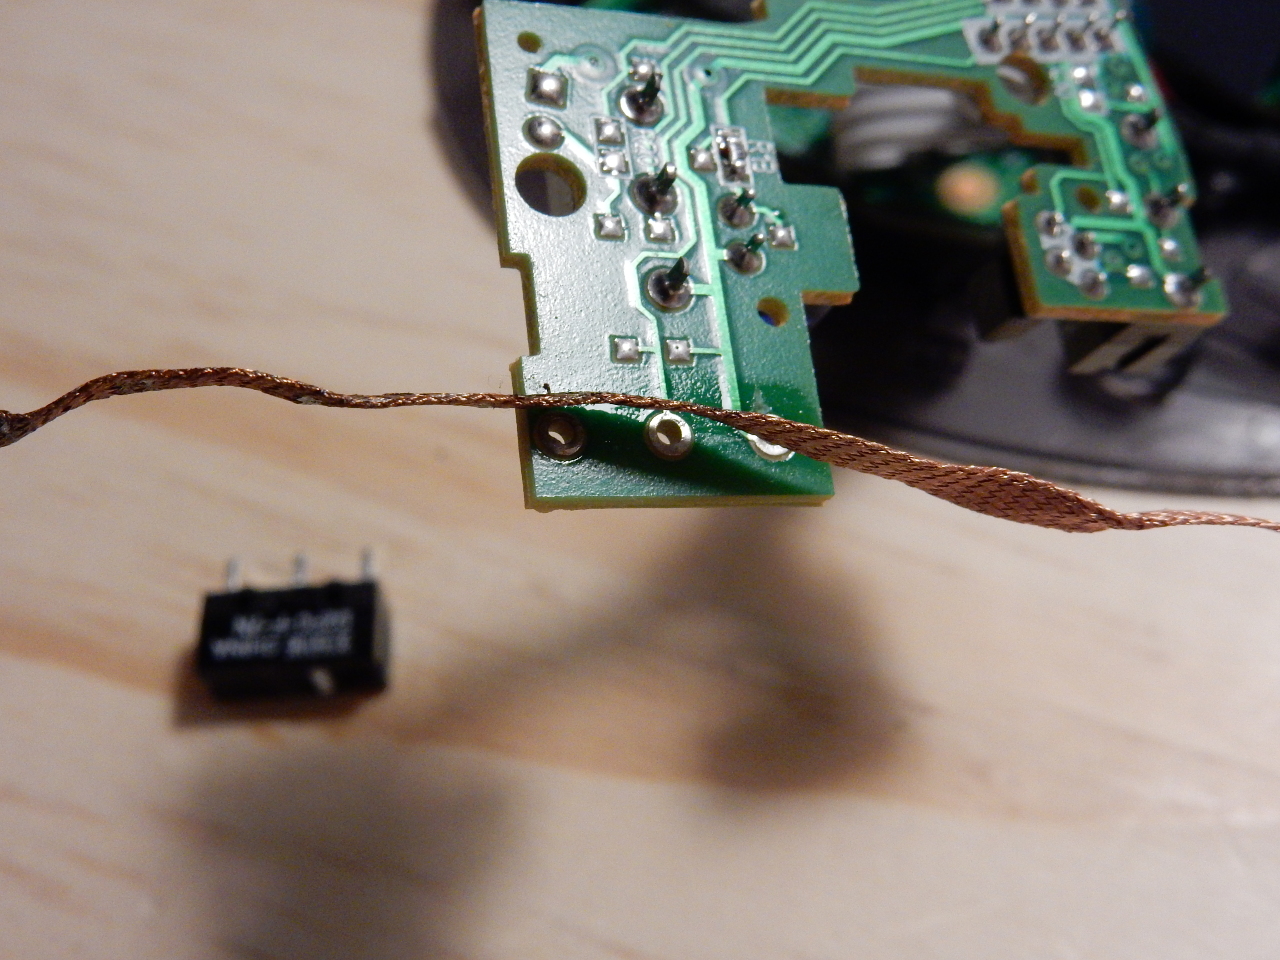
Locate the switch you want to remove, in my case this has always been the left click switch. Lay the de-solder wick across the pins and apply heat to each one until you see the wick suck up the solder. If you do this right the switch will fall right out when the last hole is cleared. Be careful not to apply too much heat, this can damage the board and surrounding parts. Let it cool off a bit and try again if you are having problems. You can also use a small flat bladed screwdriver to gently pry while heating the pins, but only do that as a last resort.
Sometimes with a difficult hole you can re-solder it a bit, then wick it again and it will pull all of it out.
Save $388.53!
You read that right, this next step will save you enough money to make a payment on that new car you’ve had your eye on. Just take a look at this Amazon listing if you don’t believe me.
Put the new switch into the holes, and make sure you orient it the right direction! The PC Board has an outline with the location of the switch button on it so just match that. Tack the center pin with a little solder to hold the switch in place, just make sure it is pushed in all the way. Then apply the heat to both the switch lead and the ring around the hole, use a bit of solder to bridge the gap. The heat will suck it right in, and you don’t need to use very much solder. Pull the solder away first, then the heat and you should have a nice shiny connection. Repeat this for all three pins and you’re done with the hard part!
Reassembly
Reverse the steps to reassemble. Snap the PC Board back into the clips, being careful not to break them. Pushing them with a screwdriver can help. Reinstall the scroll wheel if you removed it and make sure the spring is in the right place. The slots for the ends of the spring are offset so it only goes on one direction.
When reinstalling the trackball sensor on the wireless version make sure the ribbon cable is pushed all the way down before locking it in place with the brown latch. If you don’t the trackball won’t work and the green LED will just blink.
Reinstall all the screws, there should be no extra parts. Make sure the extra button board is lined up (it has a slot that the screw tower fits into). Put the top of the case back on and put all the screws back in. Plug it in and test it out to make sure everything is working correctly.
If the green LED (on the wireless model) blinks, take it all apart and check the trackball sensor. If the light doesn’t come on, make sure you remembered to put in a battery and turn it on.